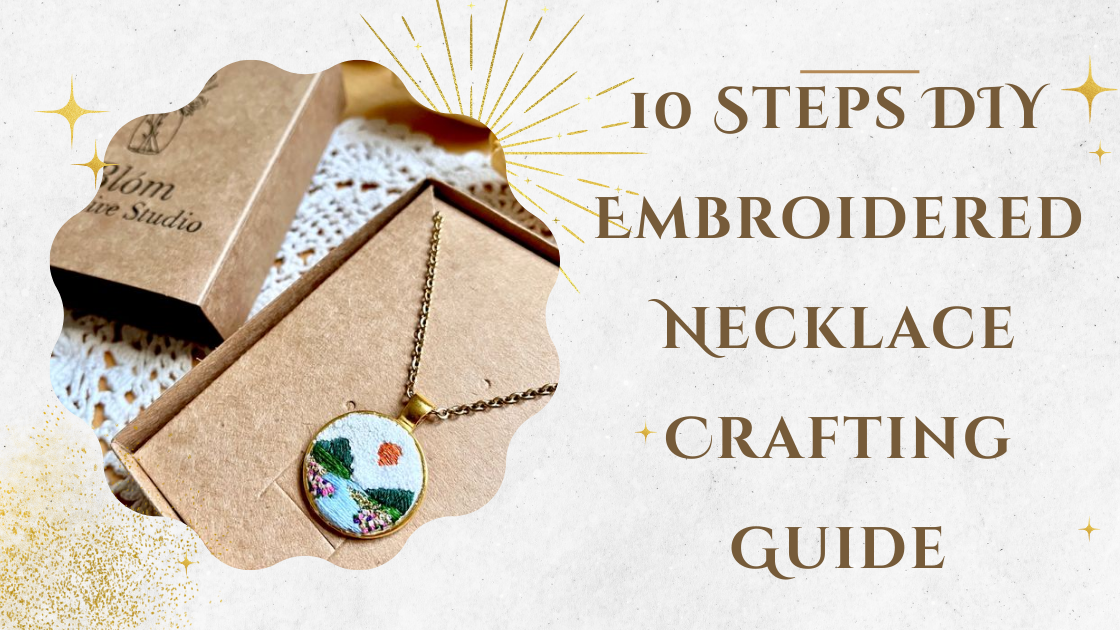
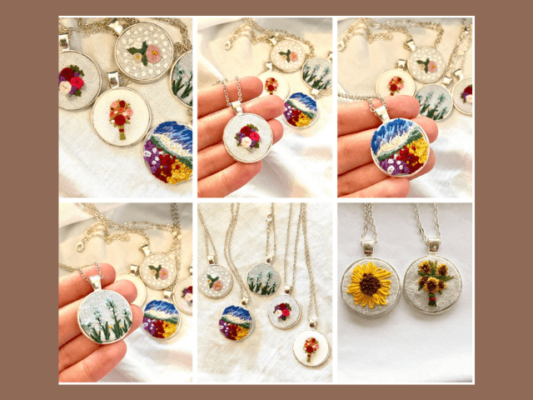
How to Create an Embroidered Necklace from Scratch
Embroidered necklaces offer a unique blend of elegance and creativity, making them a popular choice for DIY enthusiasts and fashionistas alike. In this comprehensive guide, we’ll walk you through the step-by-step process of creating your own stunning embroidered necklace. From selecting materials to stitching techniques, you’ll learn everything you need to know to craft a one-of-a-kind accessory that reflects your style.
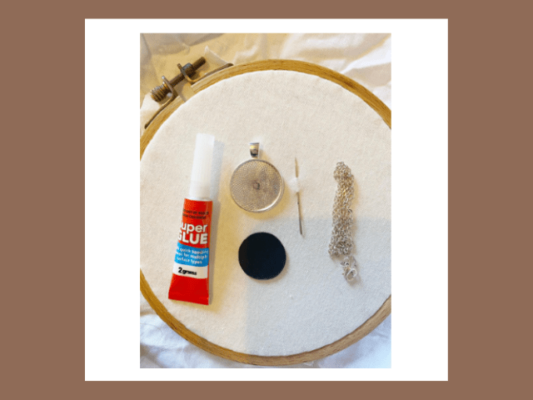
Gather Your Materials
Before diving into the creative process, gather the necessary materials:
– Embroidery hoop
– Fabric (preferably felt or linen)
– Embroidery floss in various colors
– Embroidery needles
– Scissors
– Necklace chain or ribbon
– Beads, sequins, or other embellishments (optional)
Design Your Necklace
Sketch out your desired necklace design on paper. Consider the shape, size, and placement of your embroidery motifs. Keep in mind the color scheme and any additional embellishments you plan to incorporate.
Prepare Your Fabric
Place your fabric securely in the embroidery hoop, ensuring it is taut and wrinkle-free. This will provide a stable surface for stitching and prevent puckering.
Thread Your Needle
Separate the embroidery floss into single strands and thread your needle with the desired color. Knot the end of the thread to secure it in place.
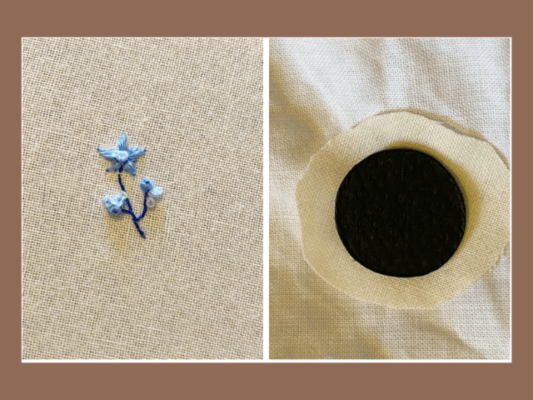
Start Stitching
Begin embroidering your design onto the fabric using your chosen stitches. Popular stitches for necklace embroidery include:
– Backstitch
– Satin stitch
– French knot
– Lazy daisy stitch
Experiment with different stitches to achieve various textures and effects.
Add Embellishments
If desired, incorporate beads, sequins, or other embellishments into your design to add sparkle and dimension. Secure these embellishments with small stitches or fabric glue.
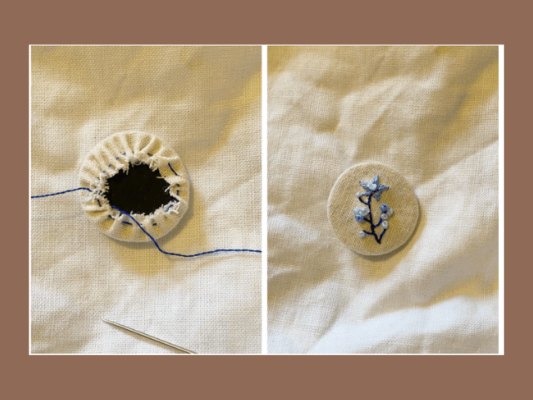
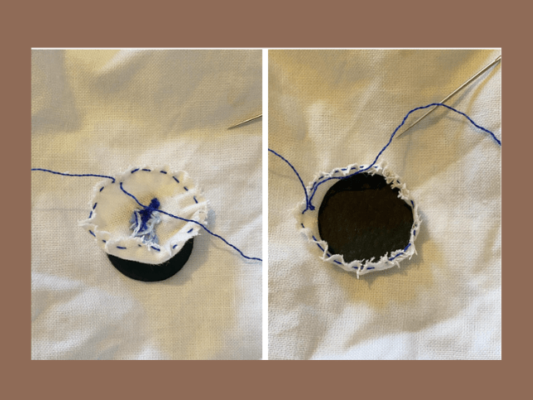
Finish Off Your Necklace
Once you’ve completed your embroidery, carefully remove the fabric from the hoop. Trim any excess fabric around the edges, leaving a small border.
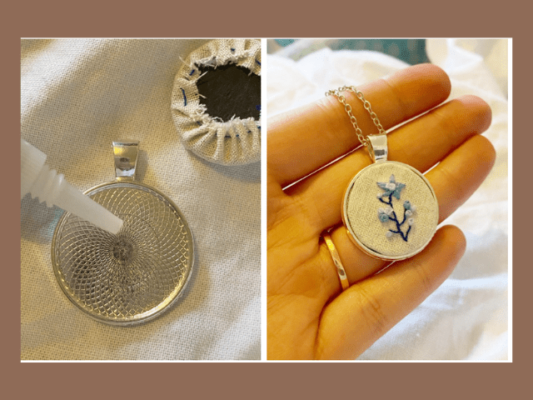
Attach the Necklace Chain
Depending on your preference, you can attach a necklace chain directly to the embroidered fabric using jump rings or sew on a ribbon to create a fabric necklace.
Final Touches
Take a moment to inspect your necklace for any loose threads or imperfections. Make any necessary adjustments to ensure a polished final product.
Showcase Your Creation
Your embroidered necklace is now ready to wear or gift to a friend! Wear it proudly as a statement piece or showcase your craftsmanship by sharing photos of your creation on social media.
Conclusion
By following these simple steps, you can unleash your creativity and craft a stunning embroidered necklace that reflects your unique style and personality. Whether you’re a seasoned crafter or a novice enthusiast, this DIY project is sure to delight and inspire. So gather your materials, unleash your imagination, and let the stitching begin!
Related Posts
- 10 Free Fonts for Commercial Use You Should Know
- How To Choose The Best Outdoor Fonts
- Celebrate Read Across America Day with Diverse Readers