

Contents
A Guide on How to Make Planner Stickers
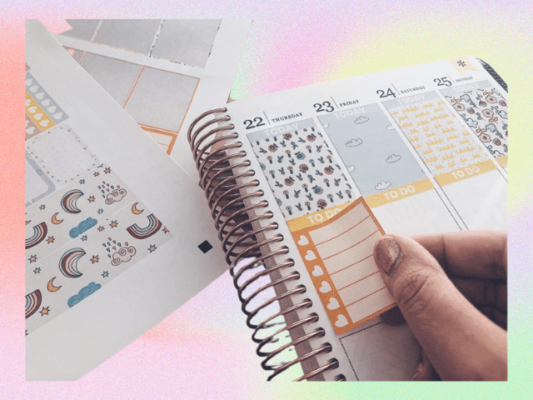
In a world where personalization and organization go hand in hand, creating your planner stickers is a delightful way to infuse creativity into your daily routines. Planner stickers not only add a pop of color and personality to your planner pages but also serve as functional reminders and markers. In this article, we’ll guide you through the step-by-step process of making your own custom planner stickers, allowing you to tailor your planning experience to match your unique style.
Gather Your Materials
Before diving into the creative process, it’s essential to assemble all the necessary materials. Here’s what you’ll need:
- Sticker Paper: Choose high-quality sticker paper compatible with your printer. Matte or glossy finishes are popular choices.
- Printer: Use an inkjet or laser printer for optimal results.
- Design Software: Familiarize yourself with design software such as Adobe Illustrator, Canva, or even Silhouette Studio for more intricate designs.
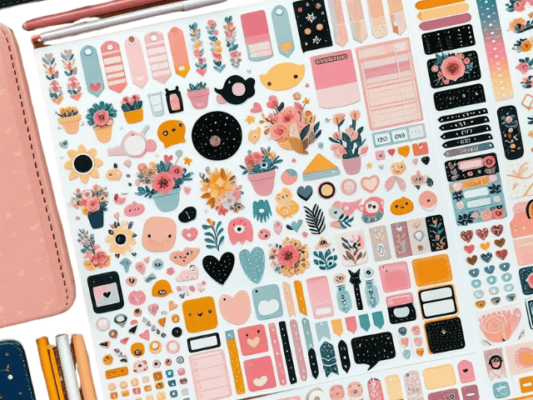
- Images and Graphics: Collect or create the images and graphics you want to turn into stickers.
- Cutting Tool: Depending on your preference, you can use scissors, a craft knife, or a cutting machine like a Cricut or Silhouette.
Design Your Stickers
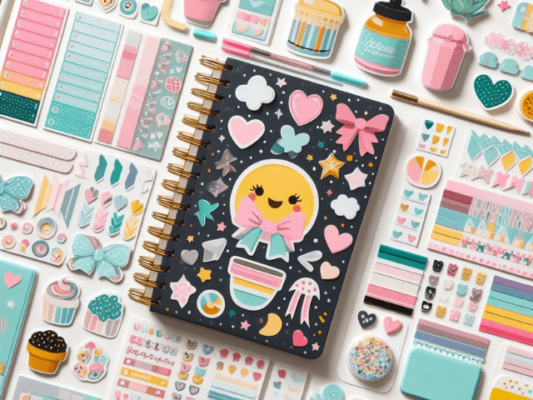
- Select a Theme:
Determine the theme for your planner stickers. Whether it’s seasonal, motivational, or functional, having a cohesive theme will bring a sense of harmony to your planner.
- Create or Choose Graphics:
Use design software to create your graphics or choose from a variety of free or purchased digital assets available online. Websites like Etsy and Creative Market offer a plethora of options.
- Layout Design:
Arrange your chosen graphics on your design software, ensuring they fit well within the dimensions of your sticker paper. Consider factors like spacing and alignment.
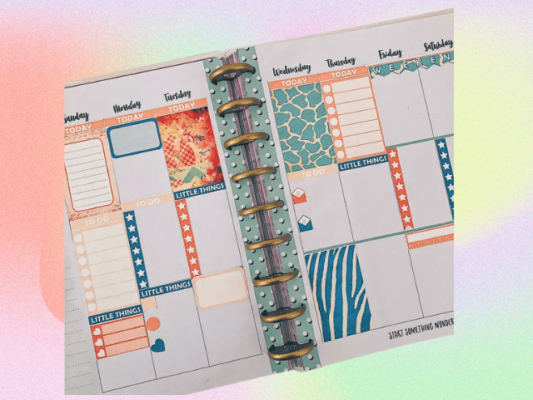
- Add Functional Elements:
Enhance the functionality of your stickers by incorporating elements like checkboxes, lines for writing, or date indicators. This will make your planner stickers both aesthetically pleasing and practical.
Print Your Stickers
- Load Sticker Paper:
Load your sticker paper into the printer according to the manufacturer’s instructions. Make sure the printable side is facing the correct direction.
- Print a Test Page:
Before printing your entire sheet, do a test print on regular paper to ensure your design appears as intended. Adjust any settings as needed.
- Print Your Stickers:
Once satisfied with the test print, proceed to print your stickers on the sticker paper. Allow the ink to dry completely before moving on to the next step.
Cut Your Stickers
- Choose Your Cutting Method:
Depending on your preference and the complexity of your designs, choose a cutting method. Scissors work well for simple shapes, while cutting machines offer precision for intricate designs.
- Follow Cutting Guidelines:
If you’re using a cutting machine, follow the guidelines provided by the machine’s software. Ensure accurate placement and sizing for each sticker.
- Hand-Cut Options:
If hand-cutting, use a ruler for straight lines and a craft knife or fine-tip scissors for detailed cuts. Take your time to achieve clean and precise edges.
Enjoy Your Custom Planner Stickers:
- Peel and Stick
Once your stickers are cut, peel off the backing and stick them onto your planner pages. Enjoy the satisfaction of seeing your custom designs come to life in your planner.
- Experiment and Refine
Don’t be afraid to experiment with different designs and techniques. Refine your process based on what works best for you and your planning needs.
Conclusion
Creating your own planner stickers is a fulfilling and creative endeavor that allows you to personalize your planner while staying organized. From design to print to application, the process is a delightful journey that culminates in a uniquely tailored planning experience. So, gather your materials, unleash your creativity, and start crafting planner stickers that make your schedule not only organized but also a joy to behold.